This is a guest post by Mikhesh The Steamer.
It does not have to be just about the winter regarded with apprehension, which did not prove to be as much problematic in Europe at all. In the outlying hills, there is a lack of electricity or gas source. On the other hand, there is usually water and wood nearby. A steam heater can be assembled from things you find in a garbage dump, thrown away in a workshop or in a hobby market.
In a cabin with a fireplace after thirty minutes, the temperature is at best slightly higher, but with steam heating, a T-shirt is enough for that time. You can also spread the steam behind several corners and you don’t have to rely on heat radiation. Wood consumption is equal to a regular fireplace. The difference is in how we deal with its energy.
Steam, that’s what it’s all about.
It is not surprising that many cities used steam for heat distribution in the past. Steam has a much greater heat capacity than water. A supply of 10 liters of water in the tanks is enough for my system to heat a 30m3 brick house from an internal temperature of 5-10°C to 30°C within 3.5 hours. The heat will then pass into the walls and I will last until the morning at 18°C with an outside temperature of 5-10°C. I reach a comfortable temperature within 30 minutes.
I heat these 10 liters of water in pipes which are forming a tank with a total volume of 20 liters. I expect a reserve due to bubbling water and easier regulation. The water itself evaporates according to the intensity of the heating. You will know the appropriate volume after a few tests of your setup and its sound: It manifests itself with a strong bubbling sound.
Disadvantages and risks
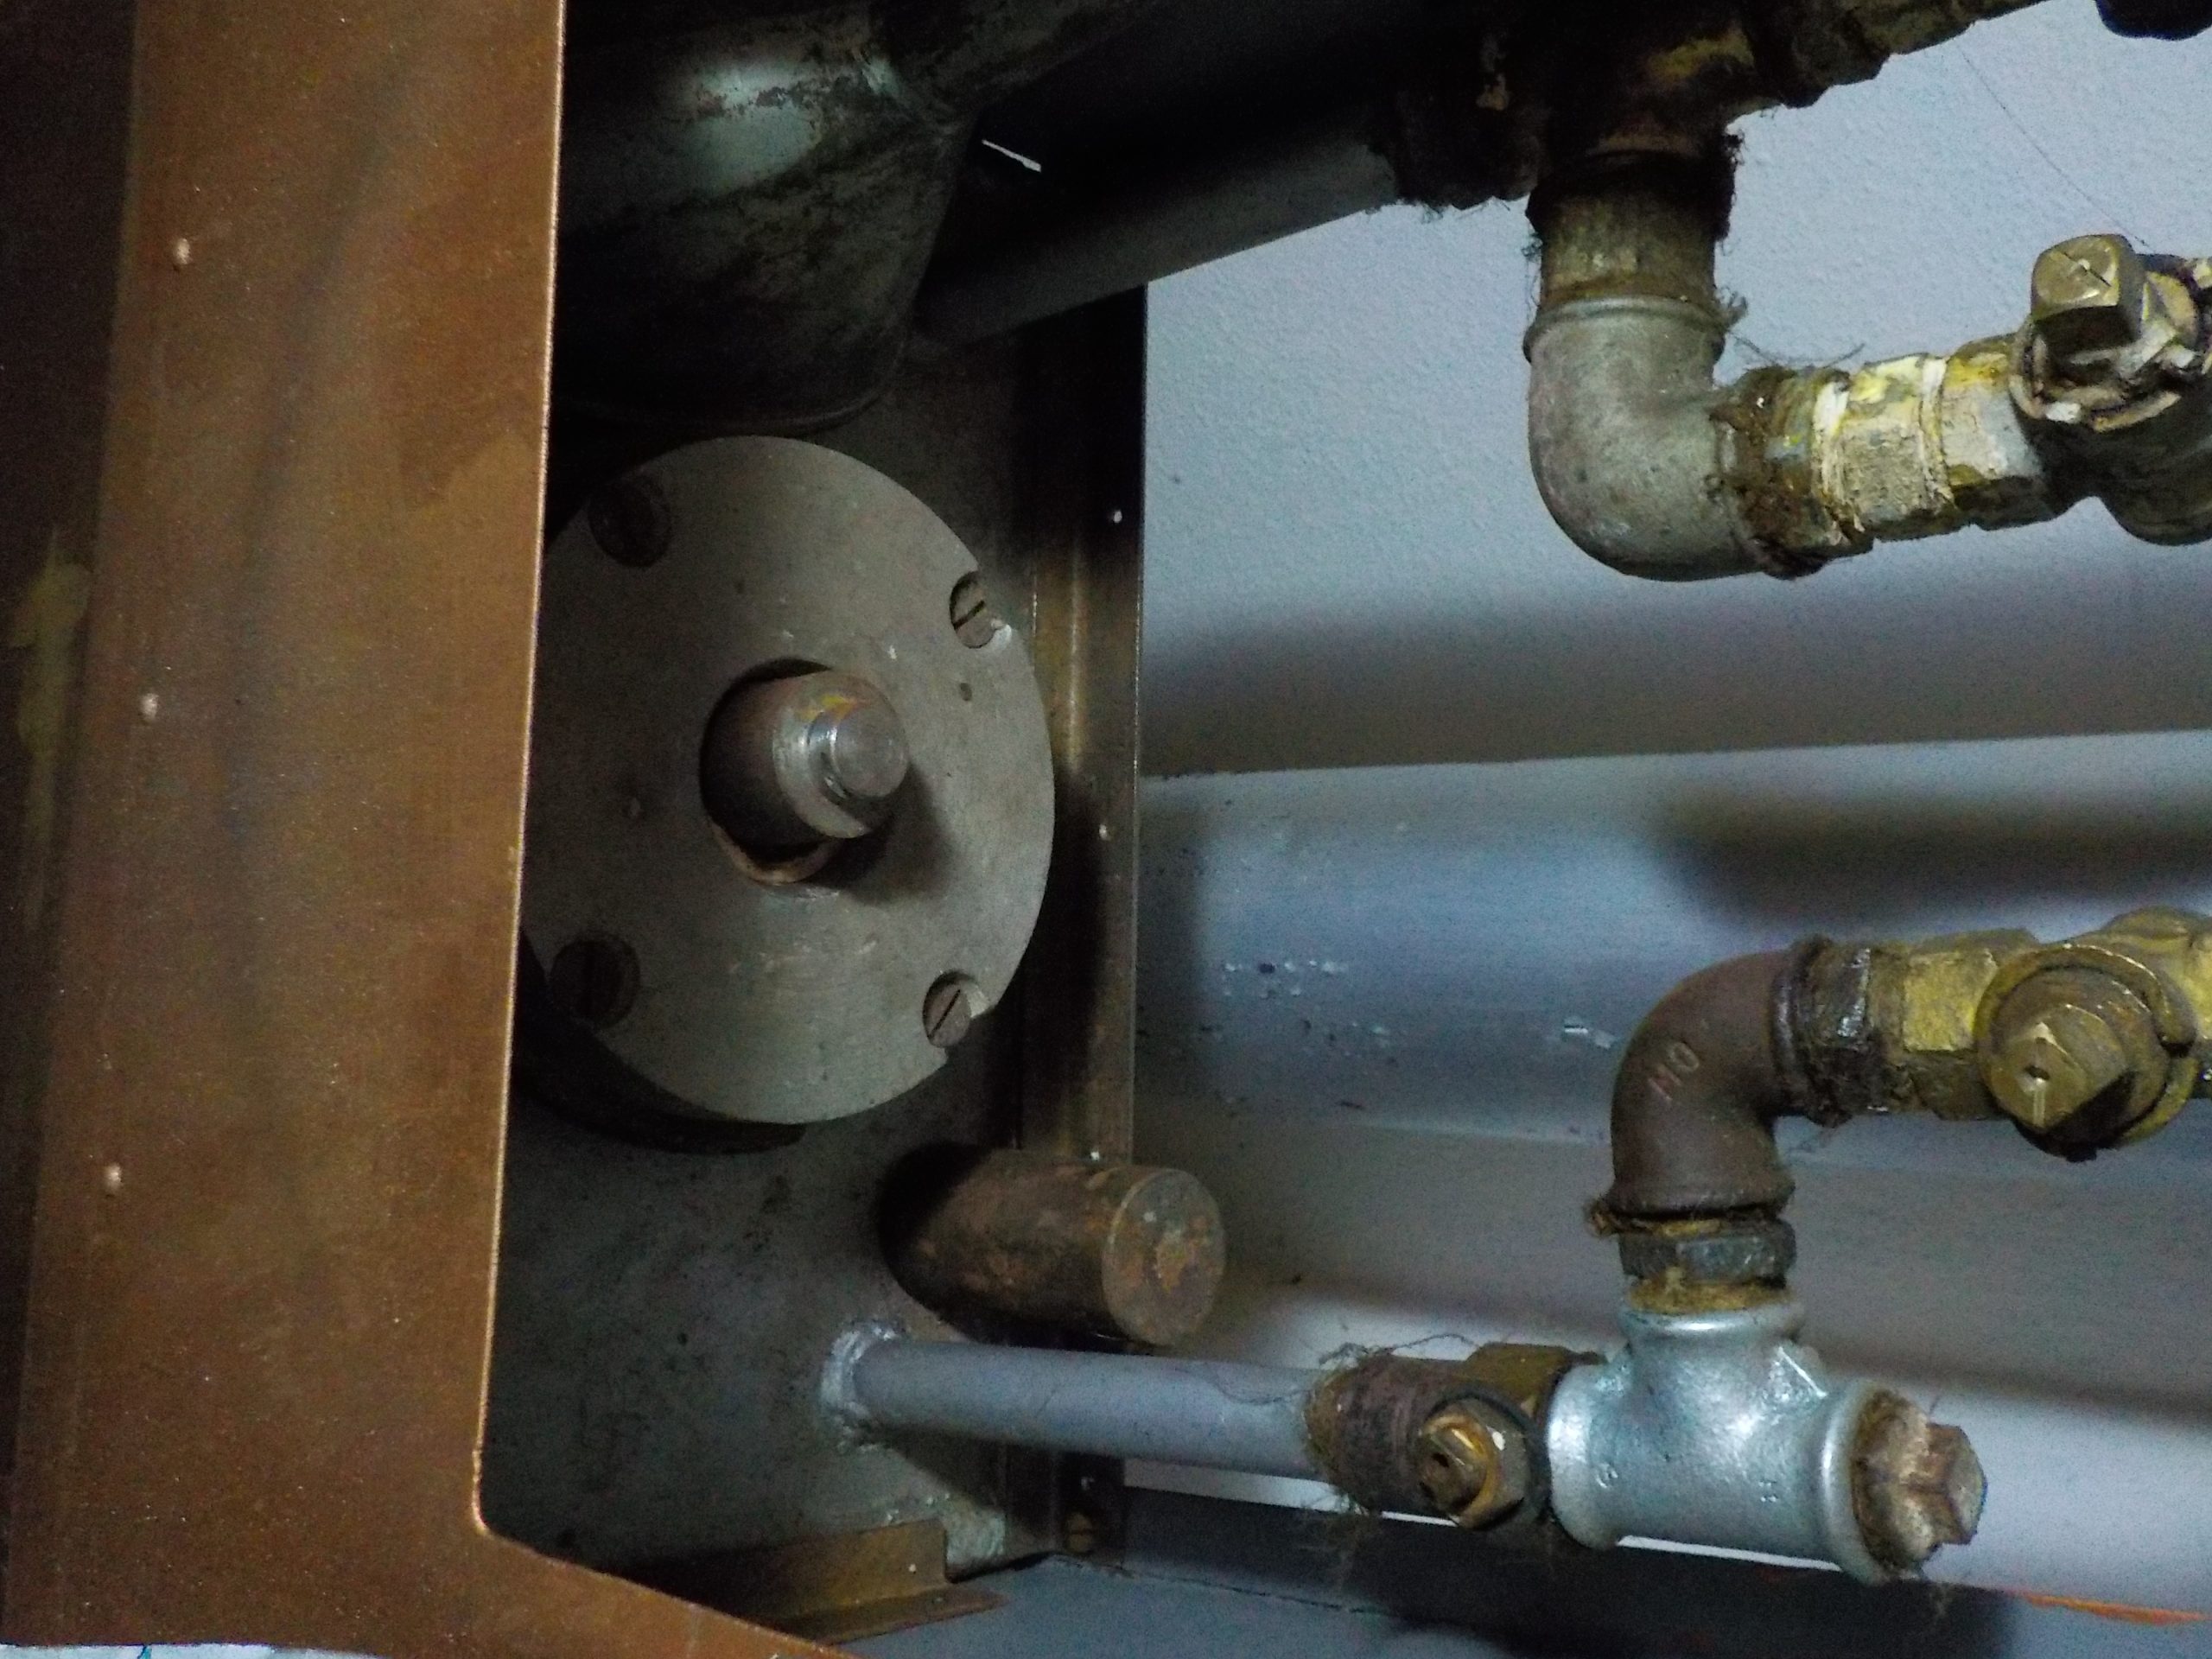
The system works with minimal pressure, at a rough guess up to 0.3 atmospheres. I solve the risk of overpressure with a plug loaded with a small weight directly on the tank. I covered this part with a metal cover into which I enter through the small door.
Blowing the plug could be unpleasant. It would flood the room with rapidly cooling steam, which is why I cover it. This has never happened in practical use. The steam must have free passage through the pipe at all times. For this reason, I lead the steam through a rubber hose near the ceiling and gradually slope it downwards so that at no point can the condensing water freeze.
It is not necessary to vent the heating steam system. The penetration of steam through the system and the displacement of air is spontaneous. Only at the end does another exhalation occur – plain water, which I take out of the building through the walls. The captured water can be reused.
Common use
I pour water before starting the fire, never during it, because I might get scalded. The heating does not retain heat and cools down immediately after the fire burns out or the water runs out. In practice, however, the room stays warm for many more hours. Then I repeat the cycle.
Kit sheet
When constructing tanks, you cannot avoid welding. The evaporation containers are sunk into the interior of the fireplace and pass through the plate. They consist of 4 pipes connected in pairs and these are immersed in the combustion space itself, which reduces the internal volume of the fireplace. A tank placed on top of the stove alone would not be efficient enough.
We need:
*A fireplace with a cooking plate that will be adjusted for:
*Thick-walled non-galvanized pipes with a wall of 4 mm and a diameter of 40-50 mm for the tank itself in the fireplace. We plunge these through the stovetop and connect them at the top. Their shape therefore resembles a “C”. From there, we lead the couple further to…
*Ordinary water pipes with G thread. An oakum impregnated with vaseline is wound on the screw-threads. Never use a rubber gasket. The steam continues to..
*Brass taps for regulating the given distribution branch. Previously, these taps were used for gas in Central Europe. From here we take the couple out to…
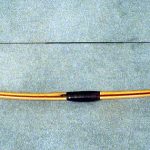
*Thick-walled rubber hoses of the required length. Hoses from compressors for the distribution of compressed air have proven themselves. Subsequently, the steam passes into..
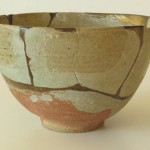
*Old radiator. We are already draining the water from it outside the building.
Tips:
*All elements must be resistant to 100°C.
*Try to assemble the device in a smaller version in the workshop. You will learn to regulate it and check if it makes sense for you.
I successfully conduct steam up to ten meters away. But it depends on your enthusiasm for experiments. I built my system myself from scraps from work and landfills. Even yours can be unique, where the steam will warm you, also with a great feeling of using discarded items and well-done work.
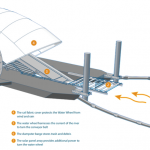
Plan:
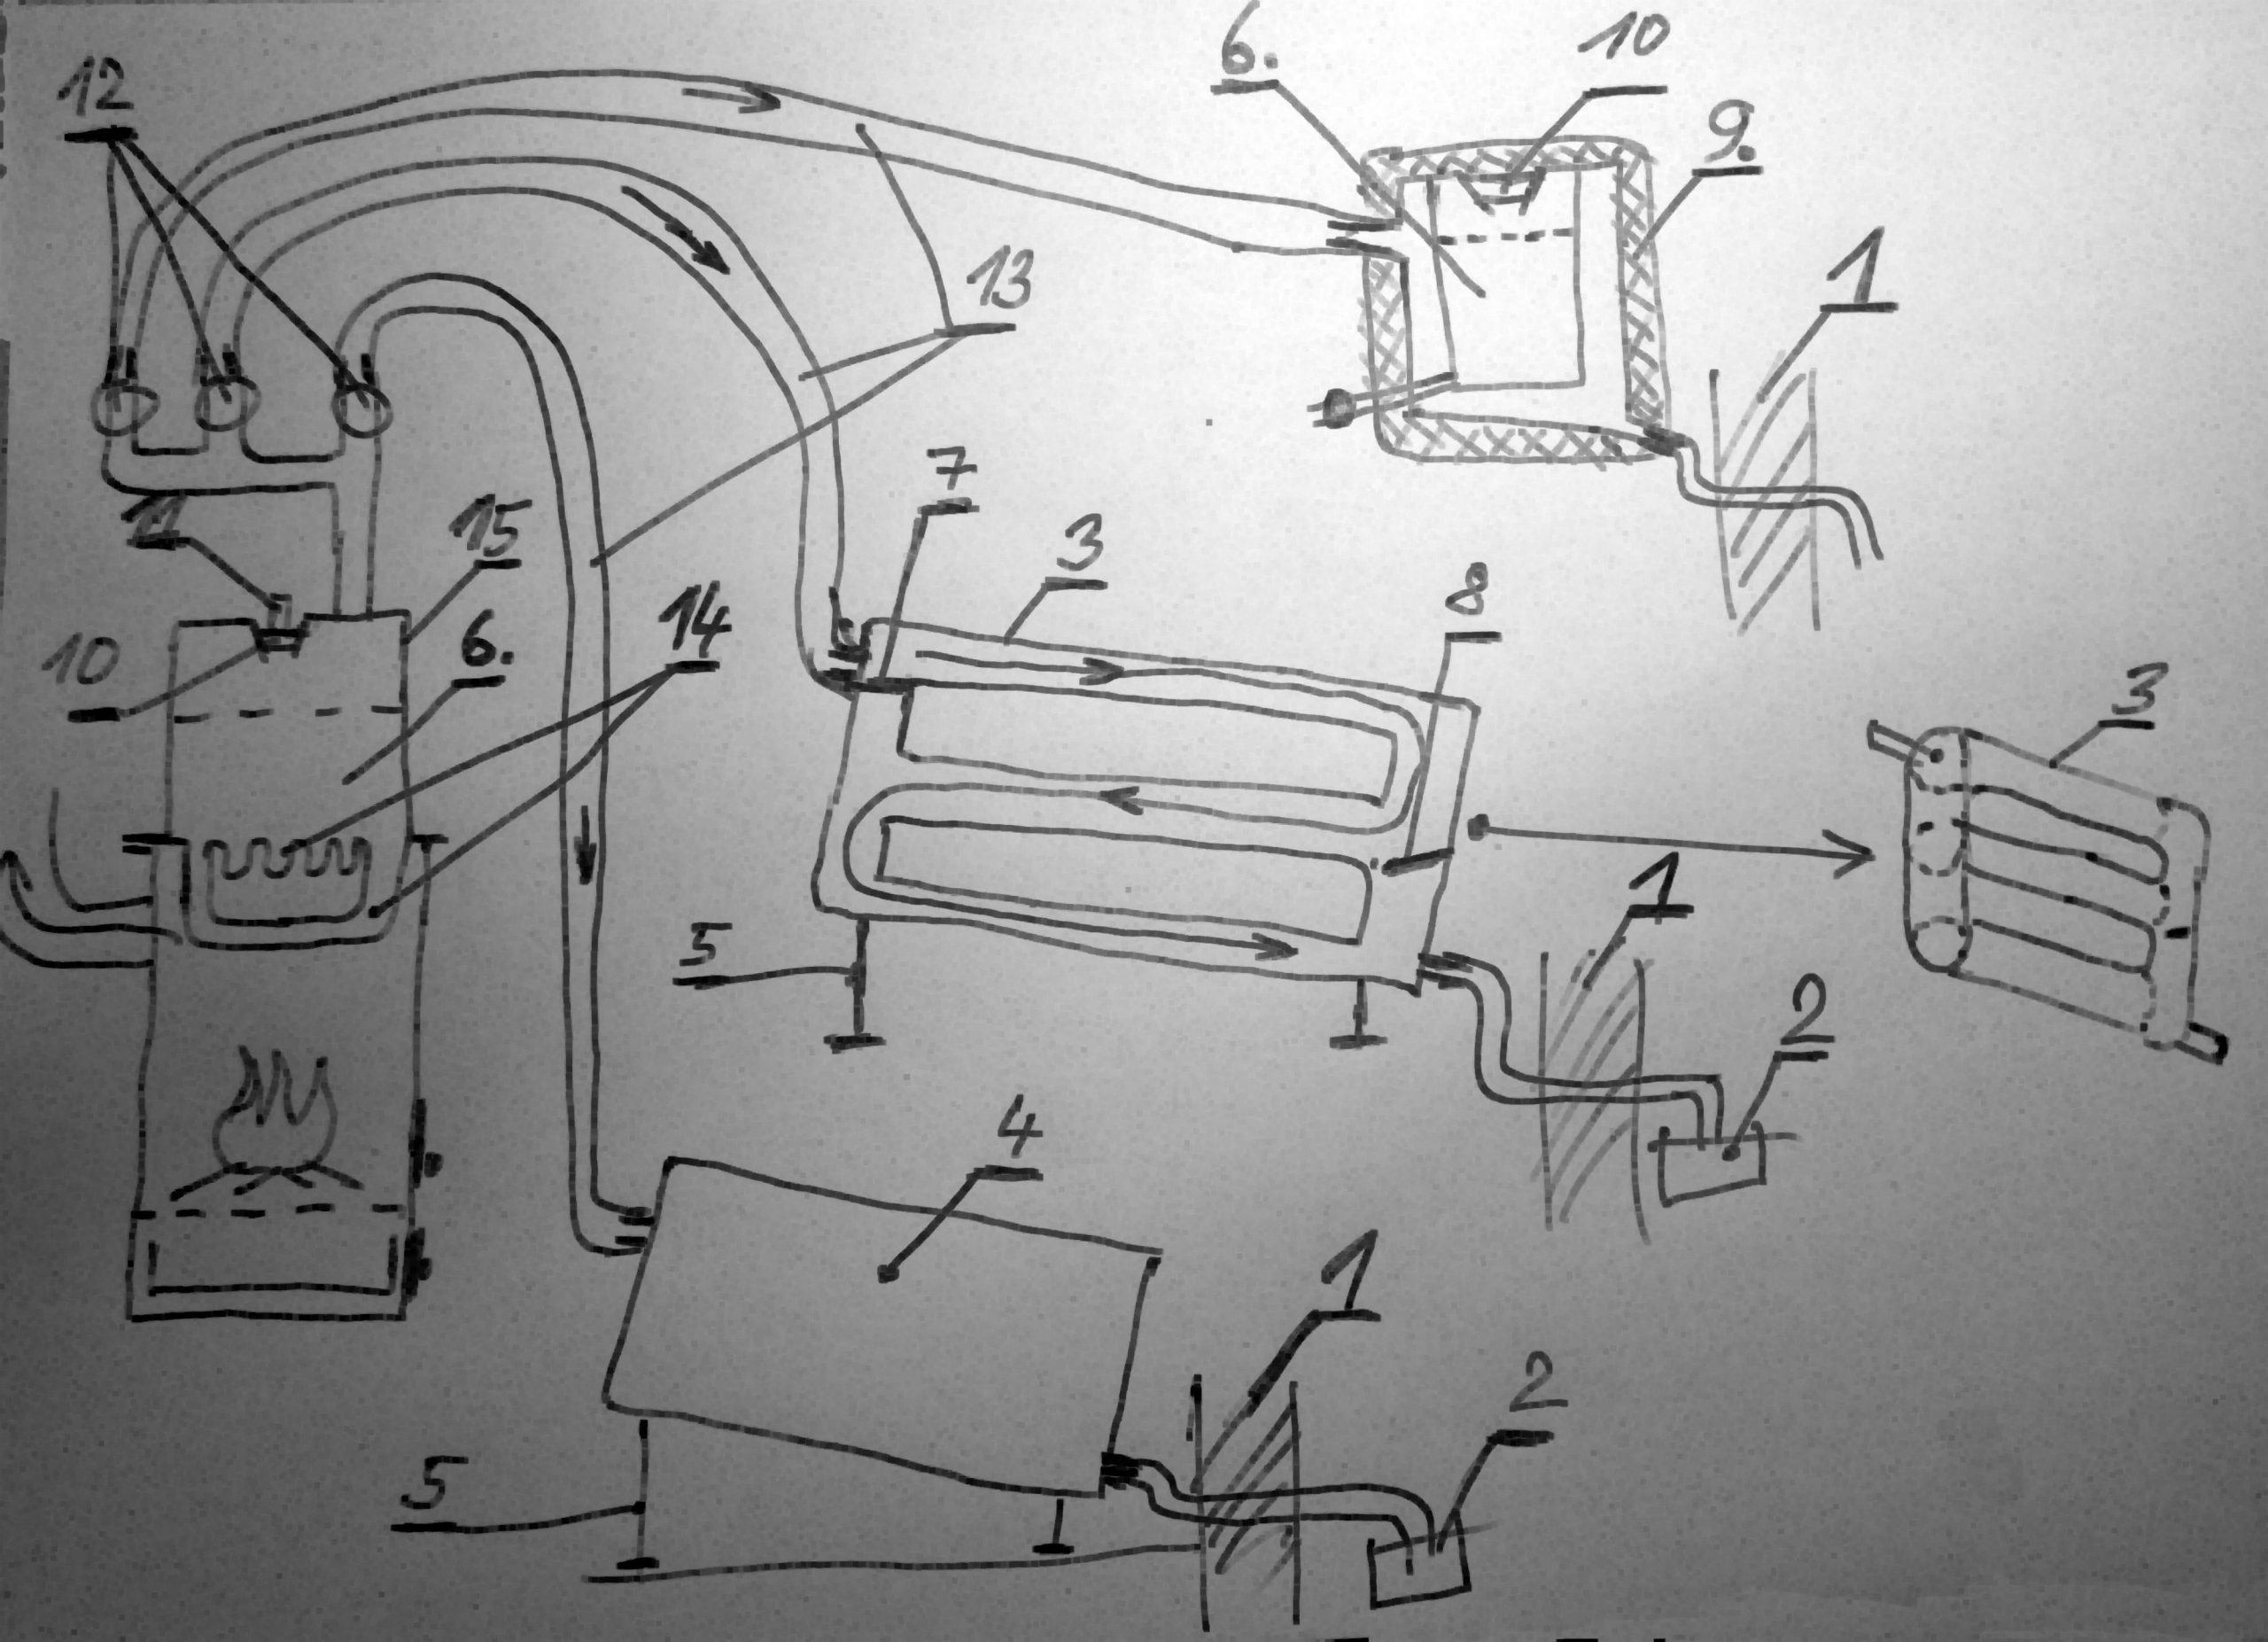
Steam heating (10m)
1. The wall
2. Possible retention of condensed water
3. Pipe weldment with a diameter of 100mm
4. An old tin heating element
5. Tilting (drainage of condensed water)
6. Water
7. Partition without a hole
8. Partition with a hole
9. Water heater insulation
10. Silicone funnel cap
11. Weight
12. Valves resistant to 100°C
13. Hose resistant to 100°C
14. Different forms of enlargement of the transmission area
15. The body of the steam generator placed on the stove instead of the hot plate.
Images
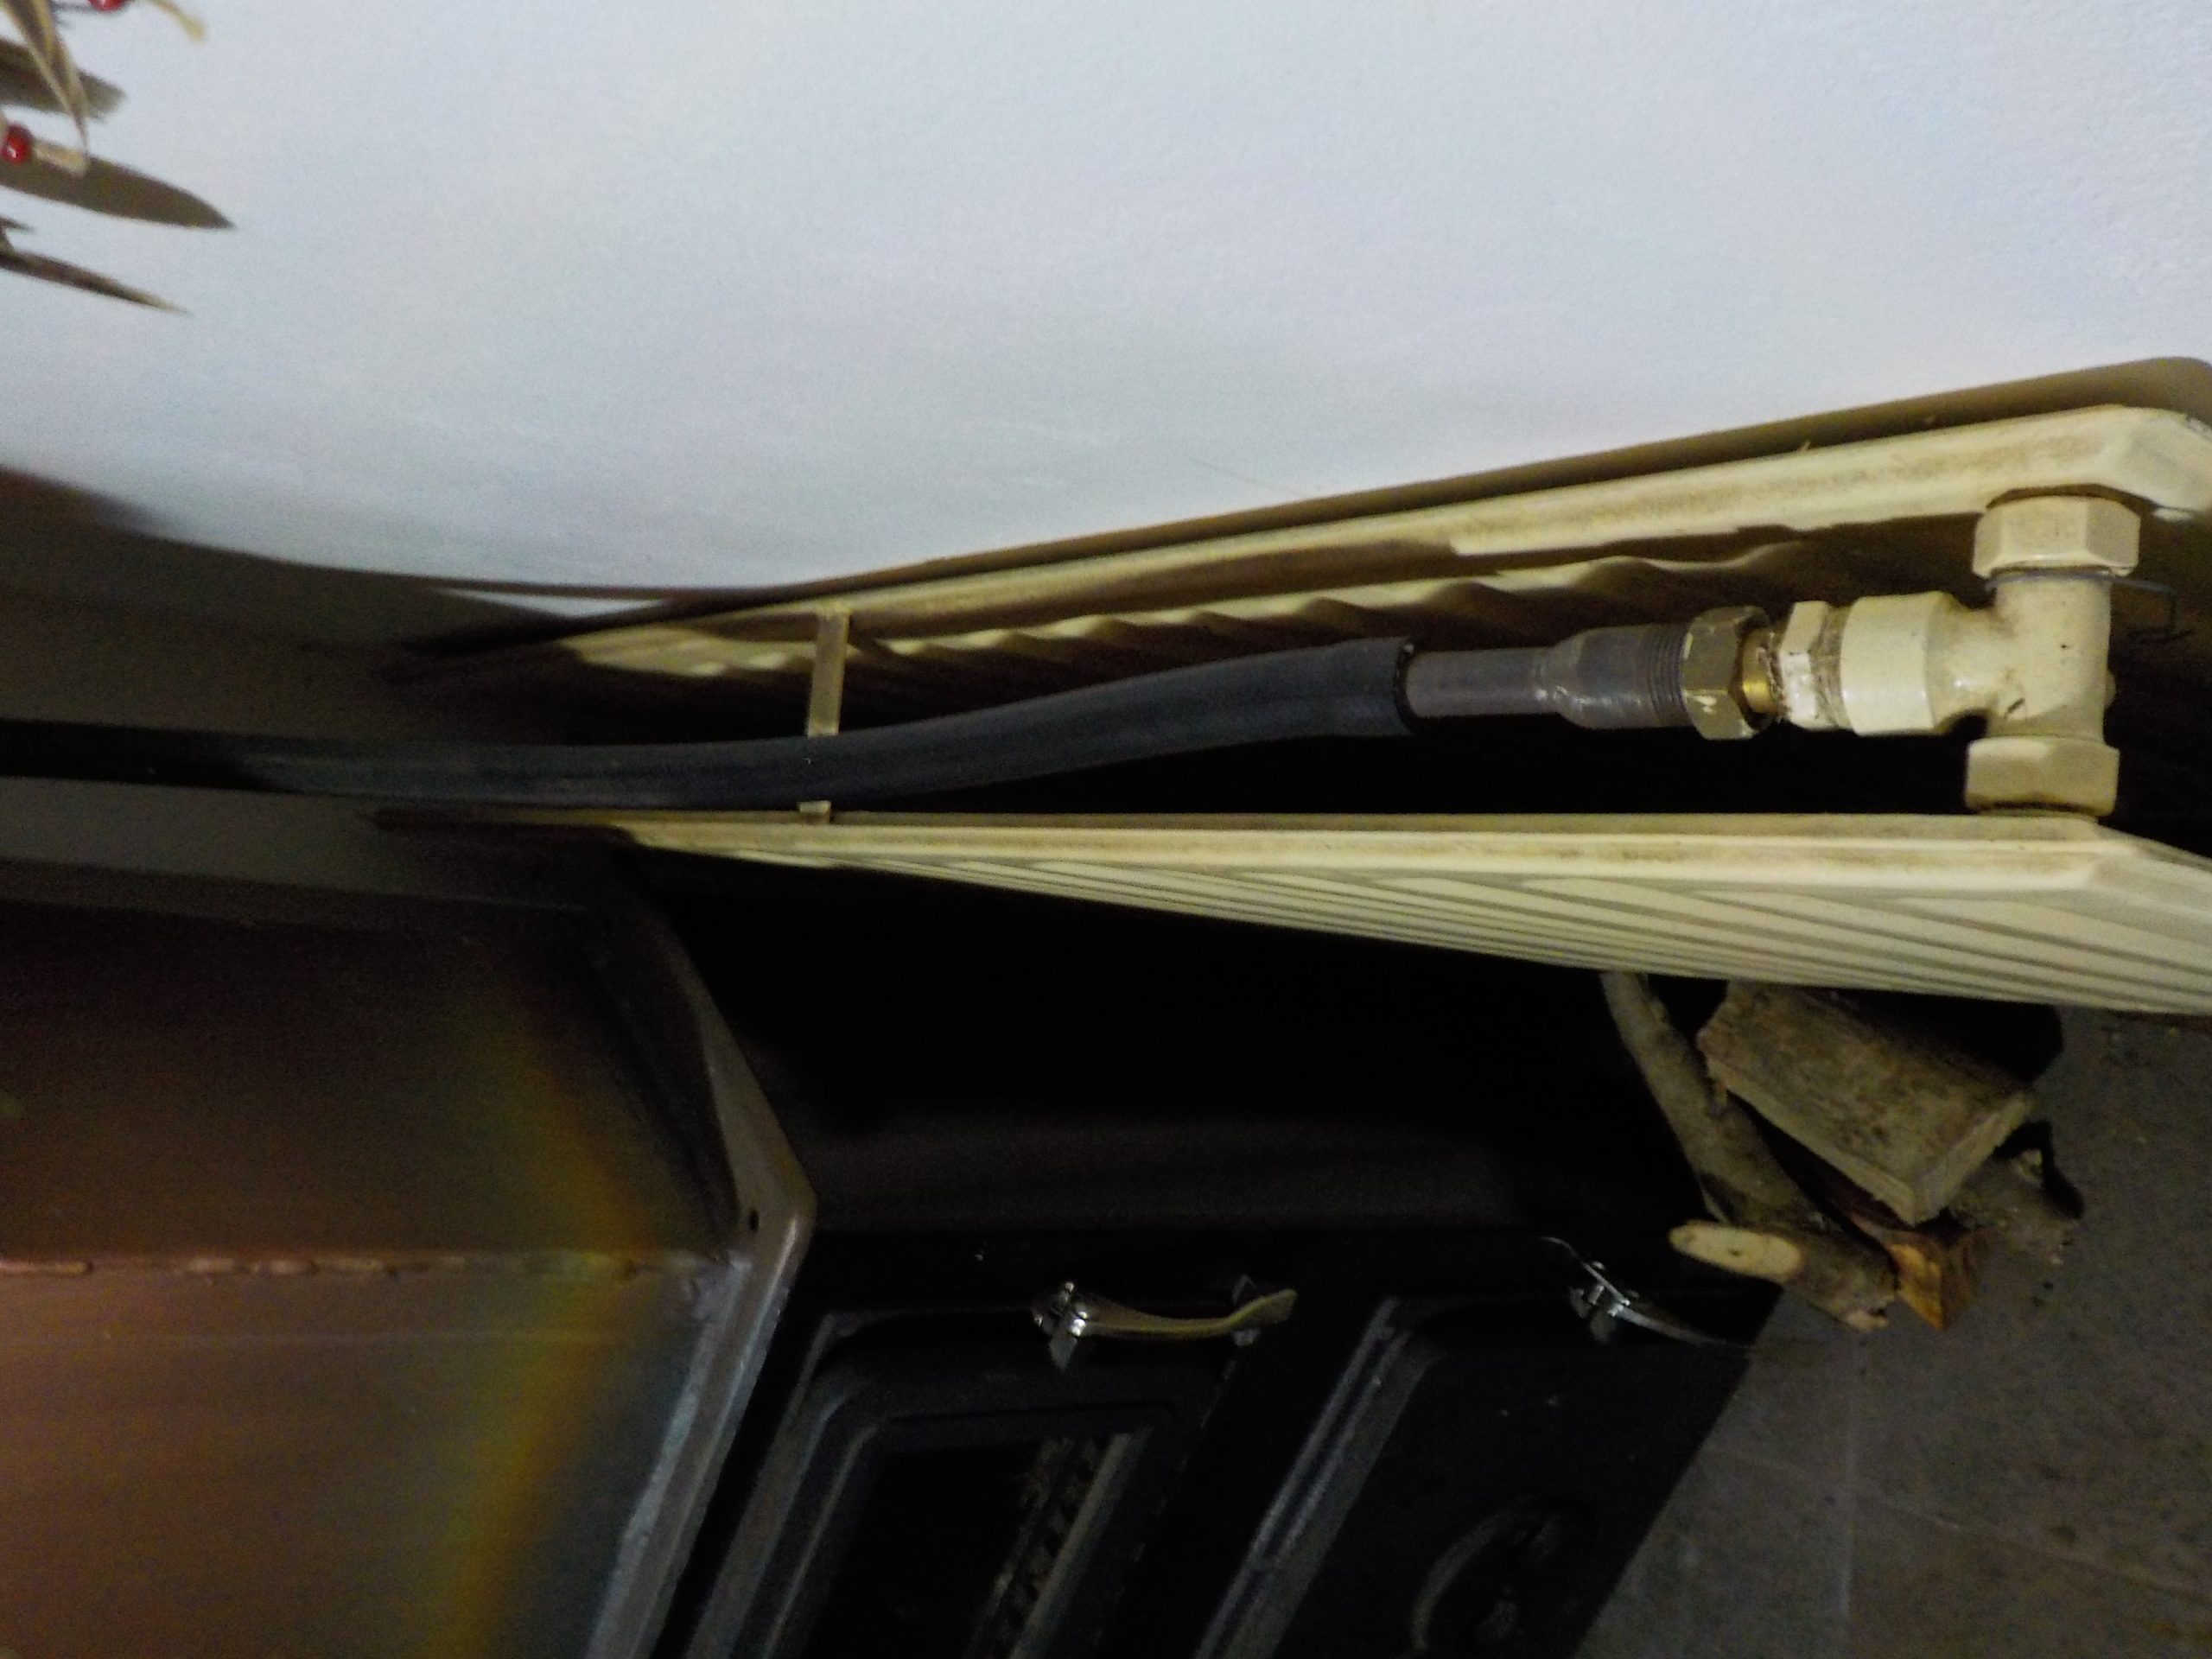
1. Overall view:
2. another example of a heating element:
3. Evaporation tank inside the fireplace:
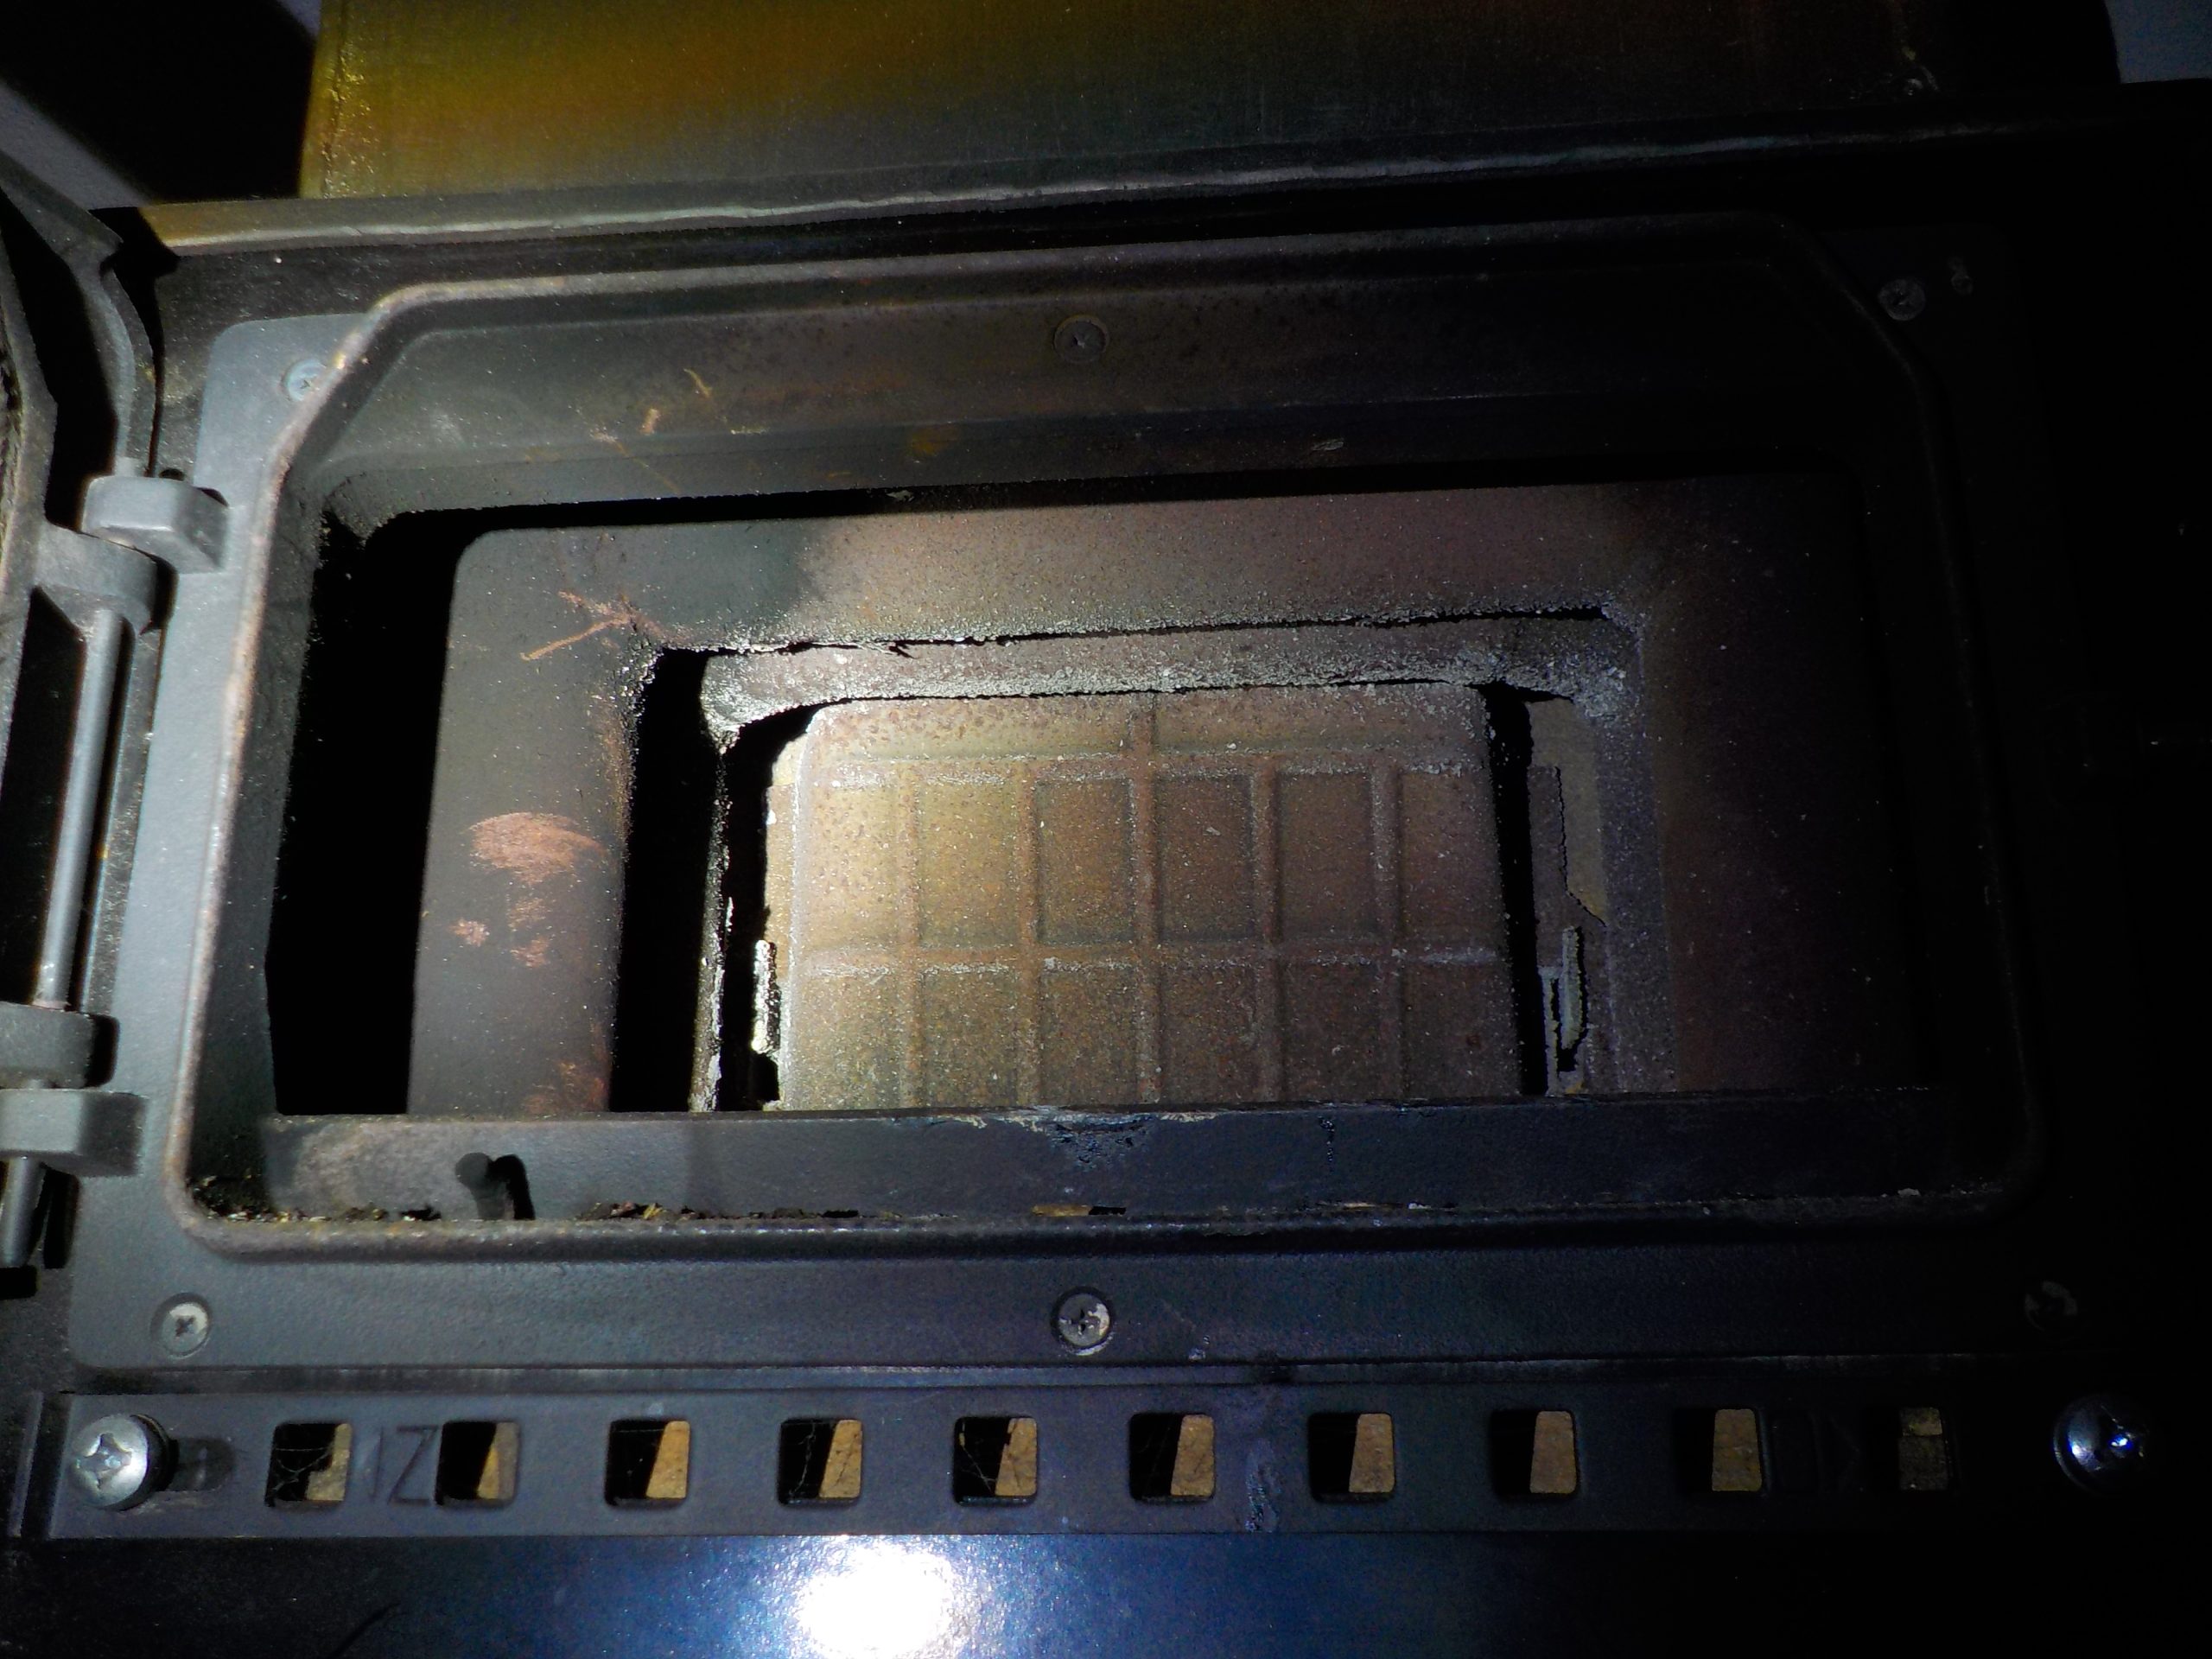
4. Opening to fill:

5. Fulfillment:
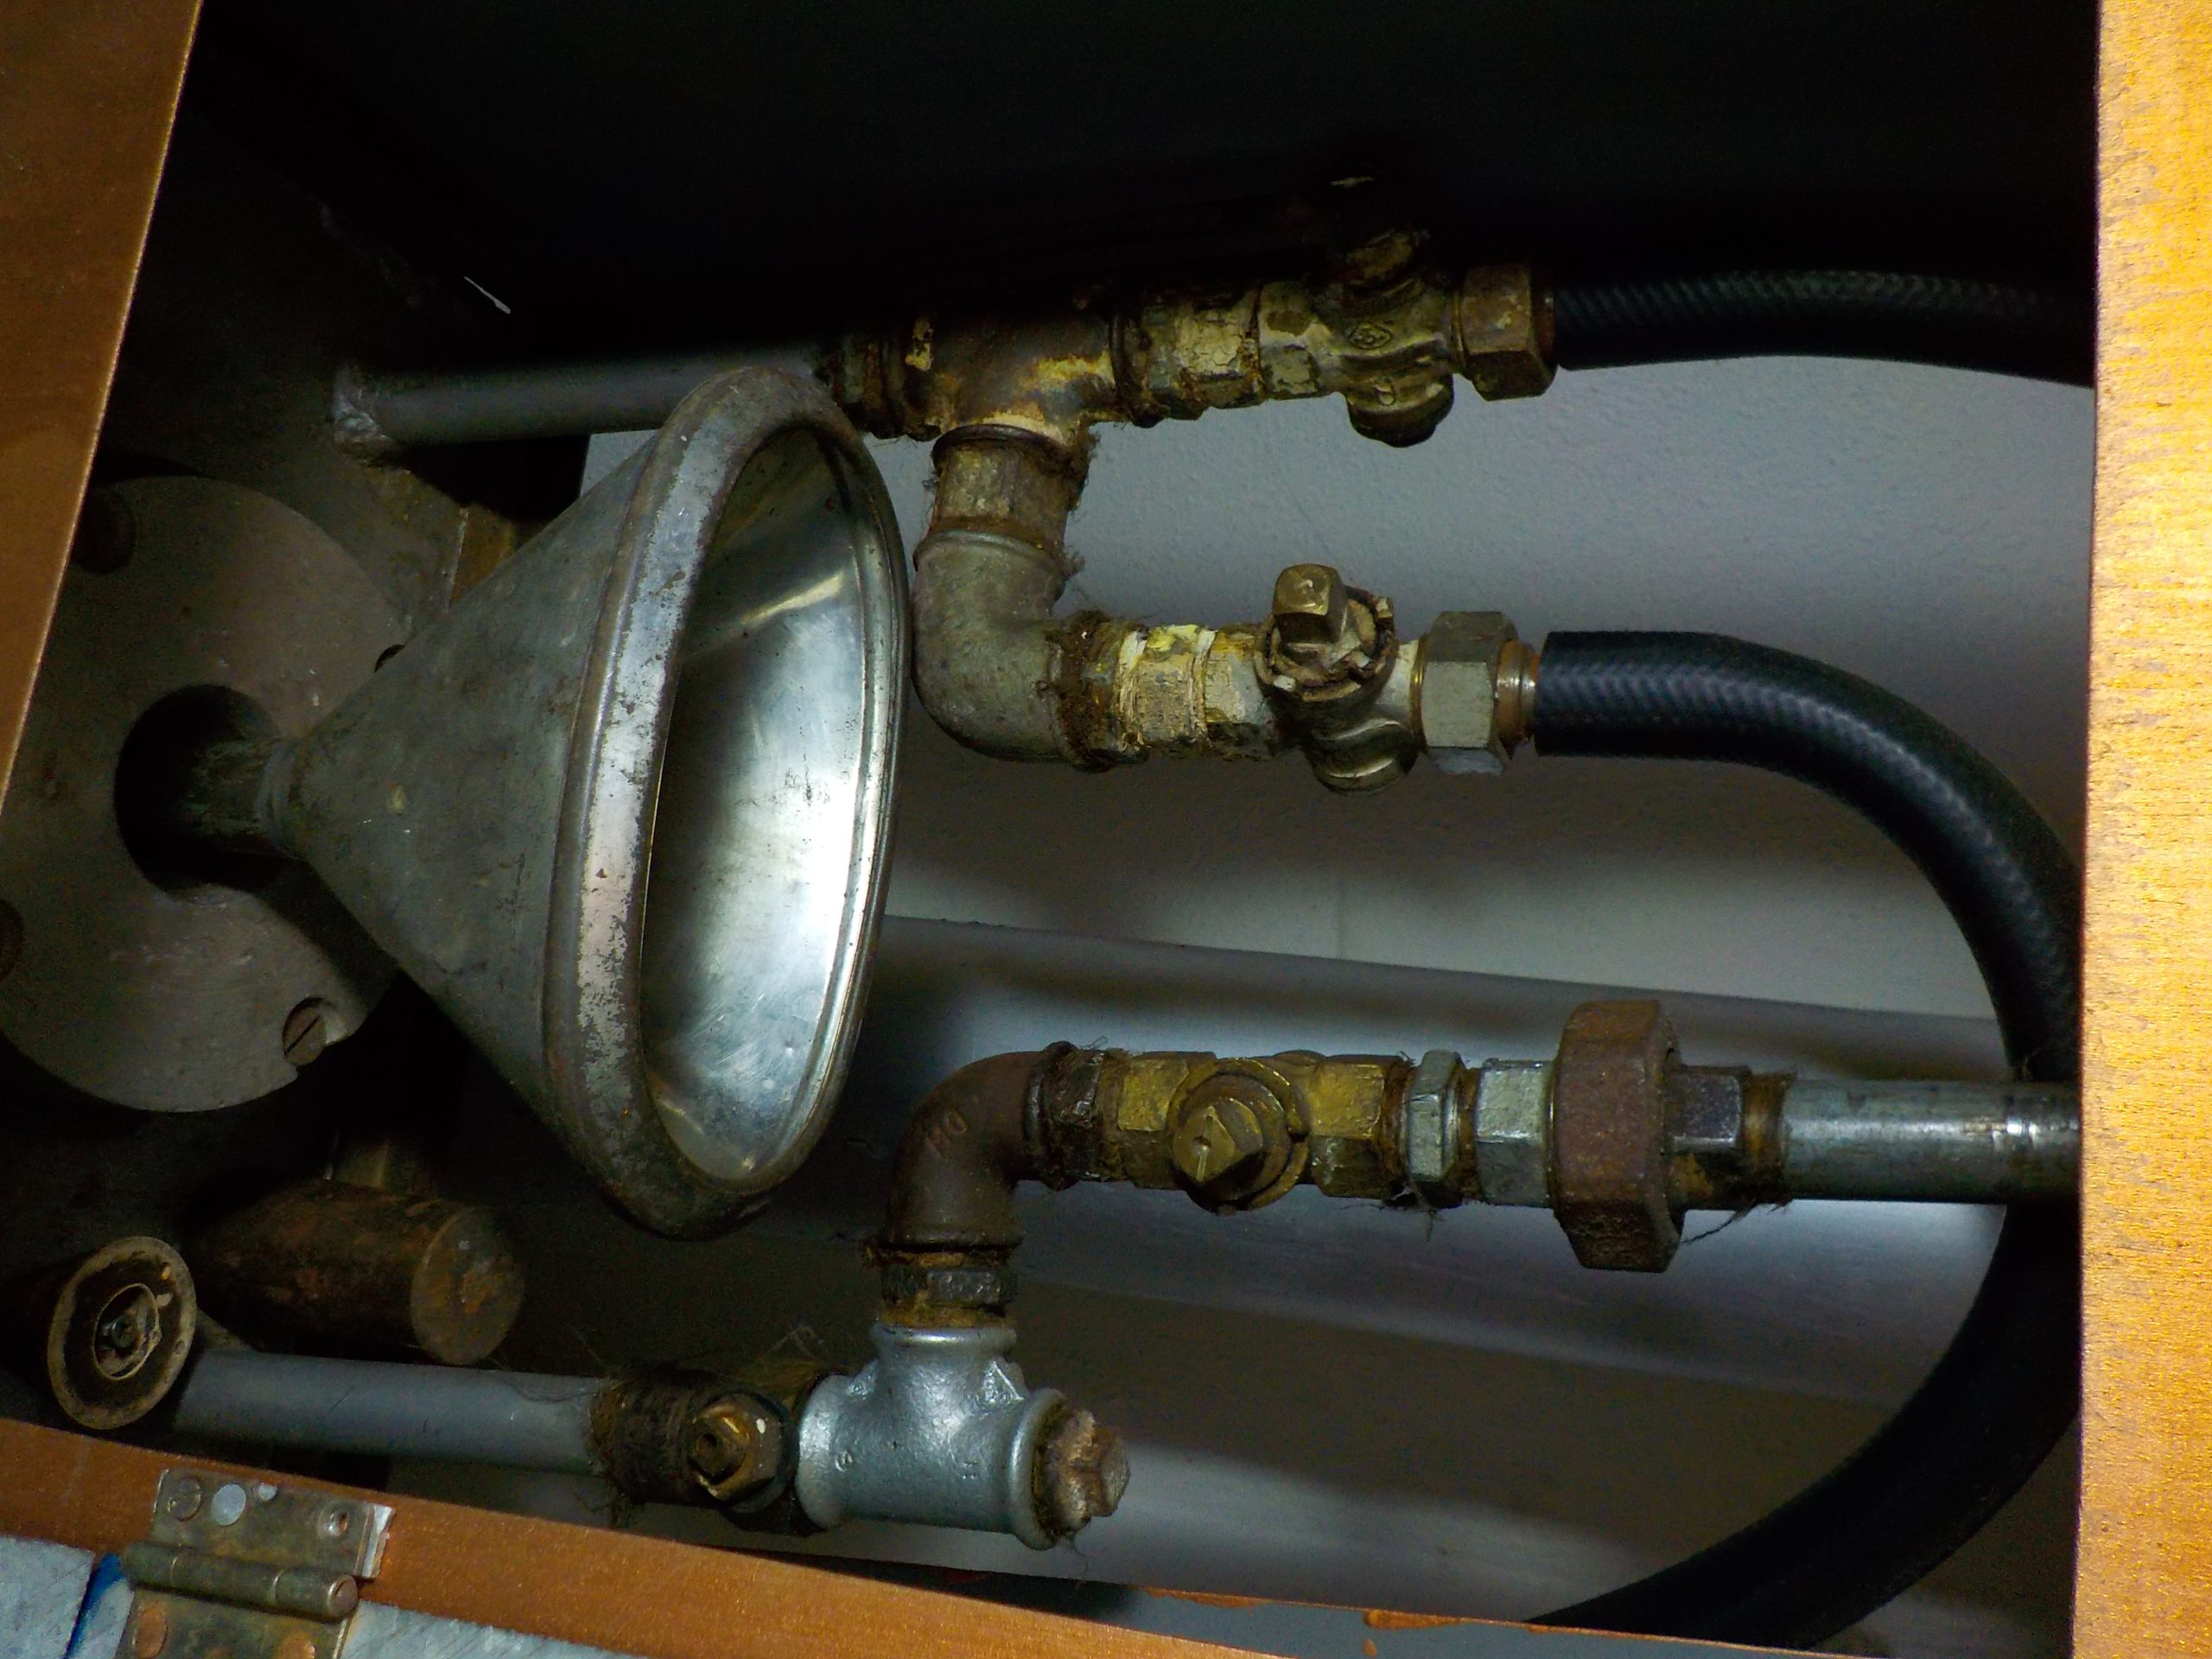
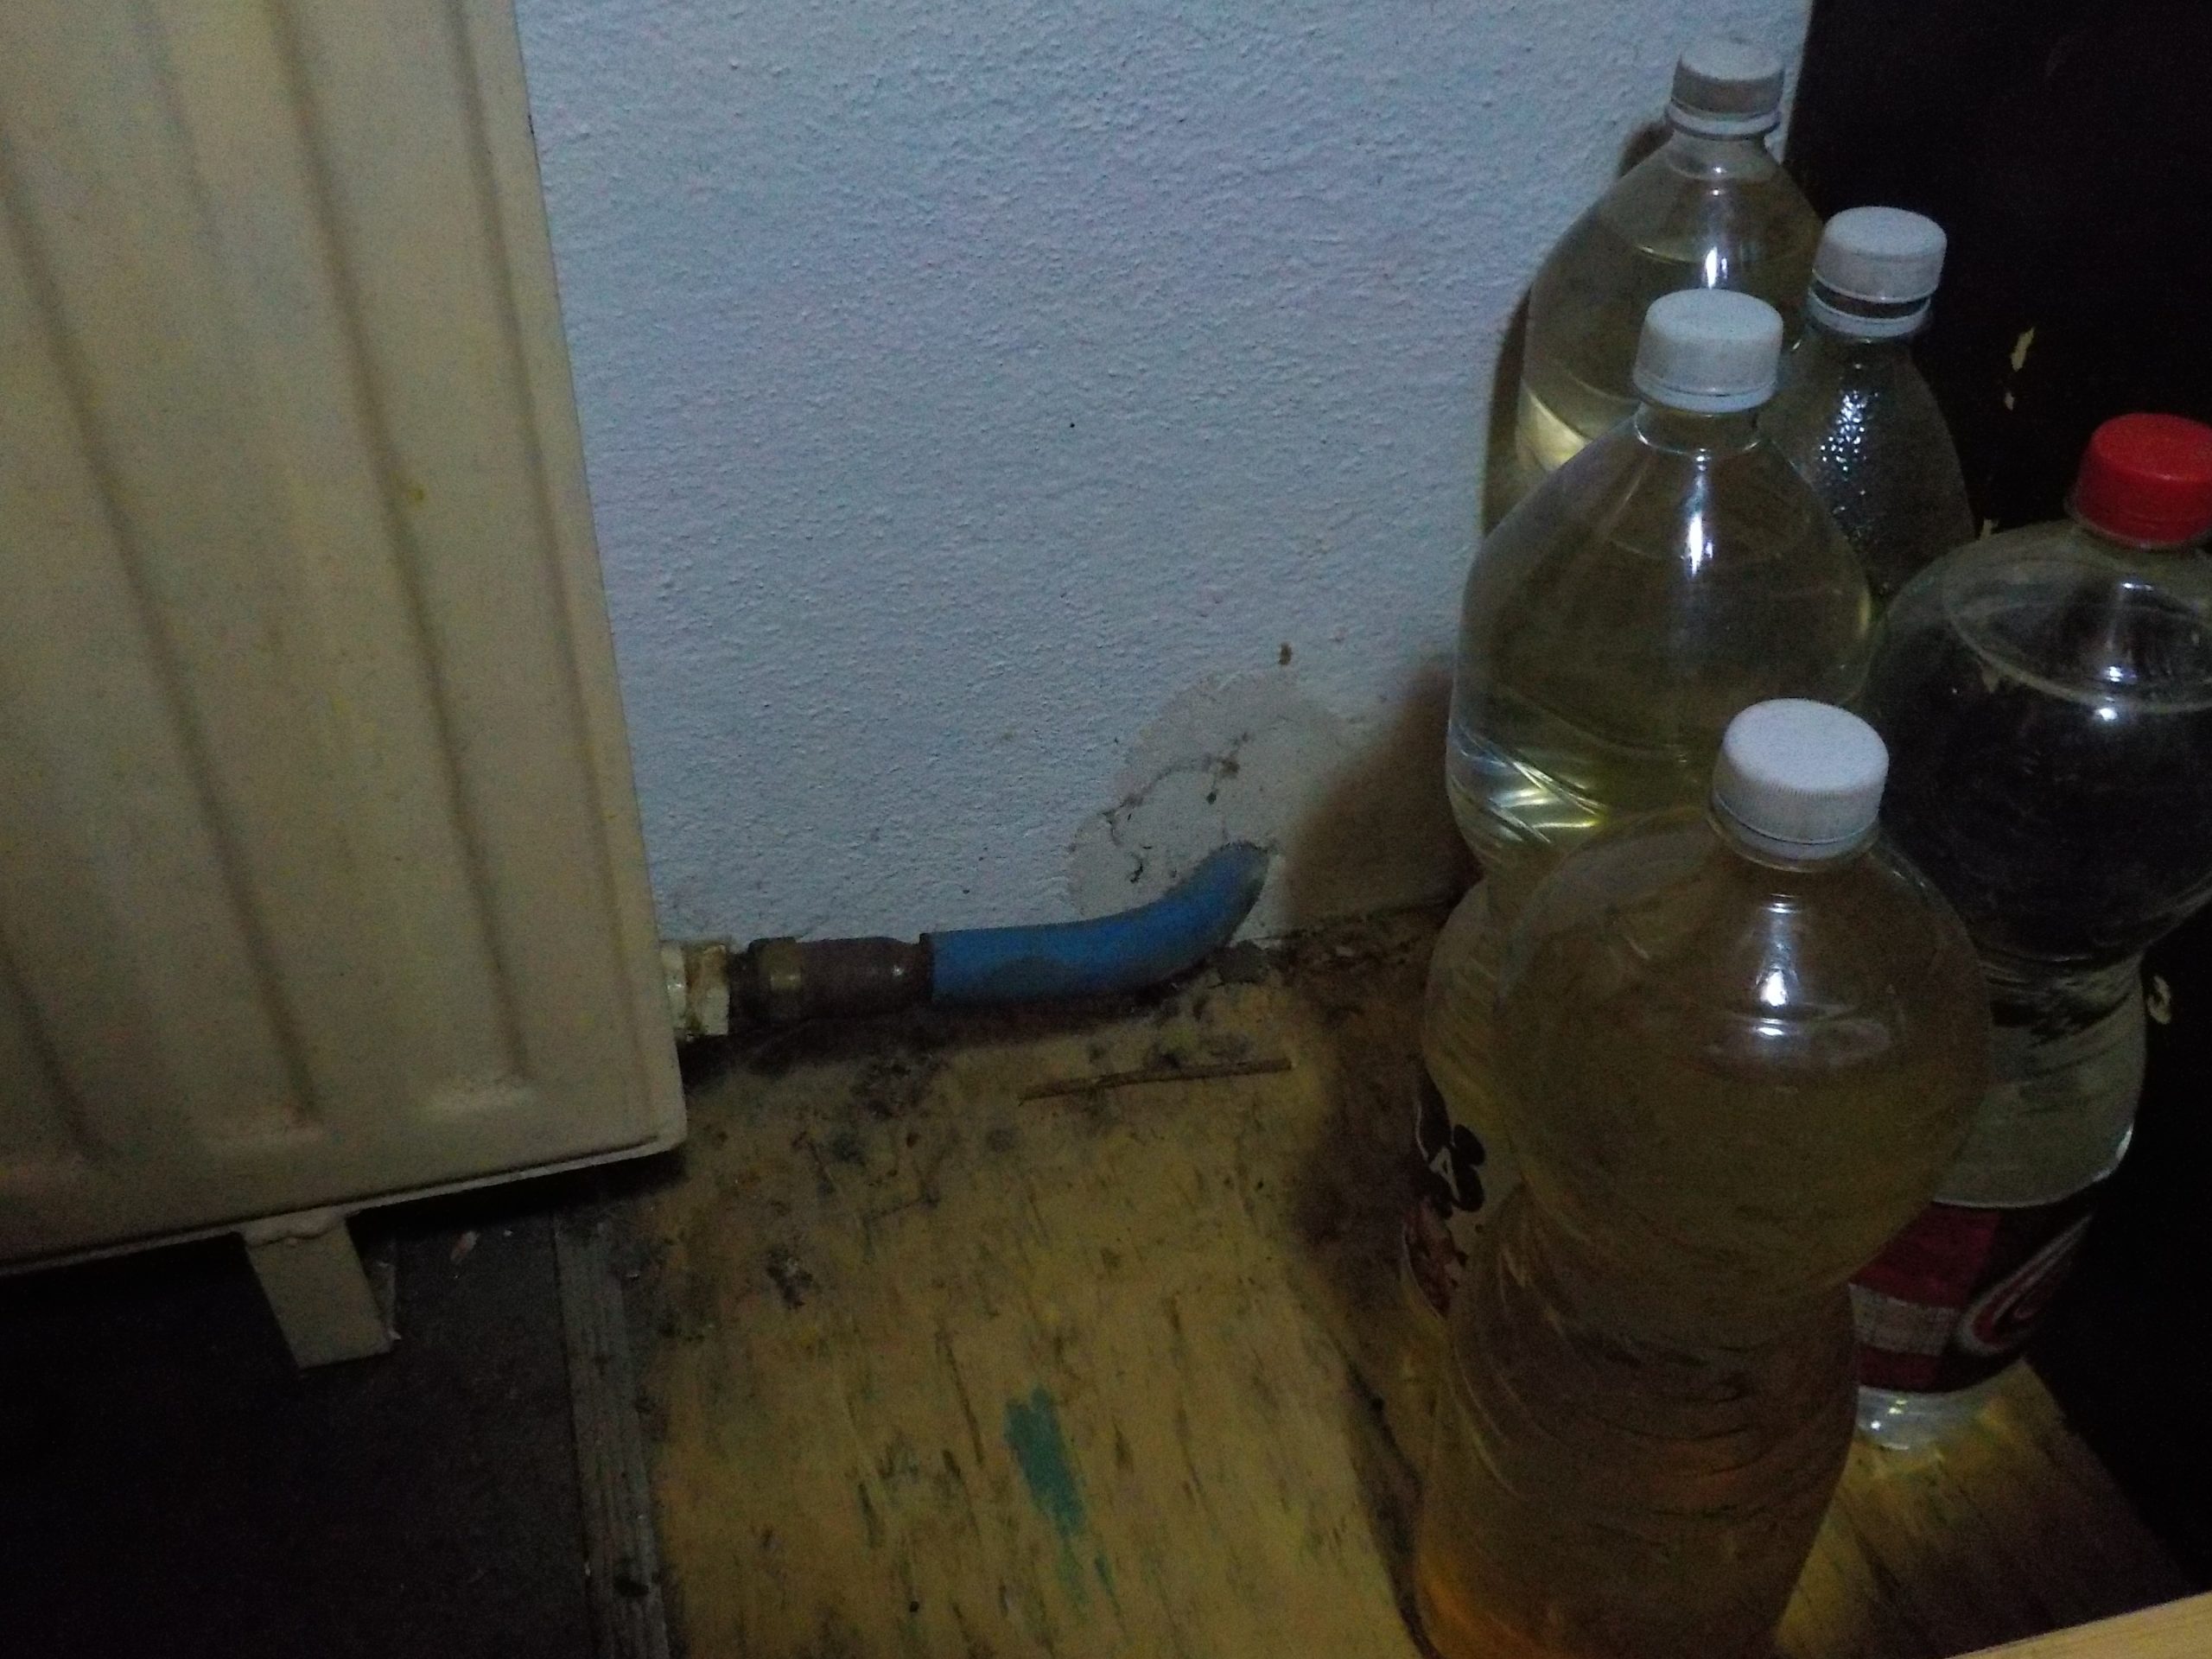
6. Operational water supply:
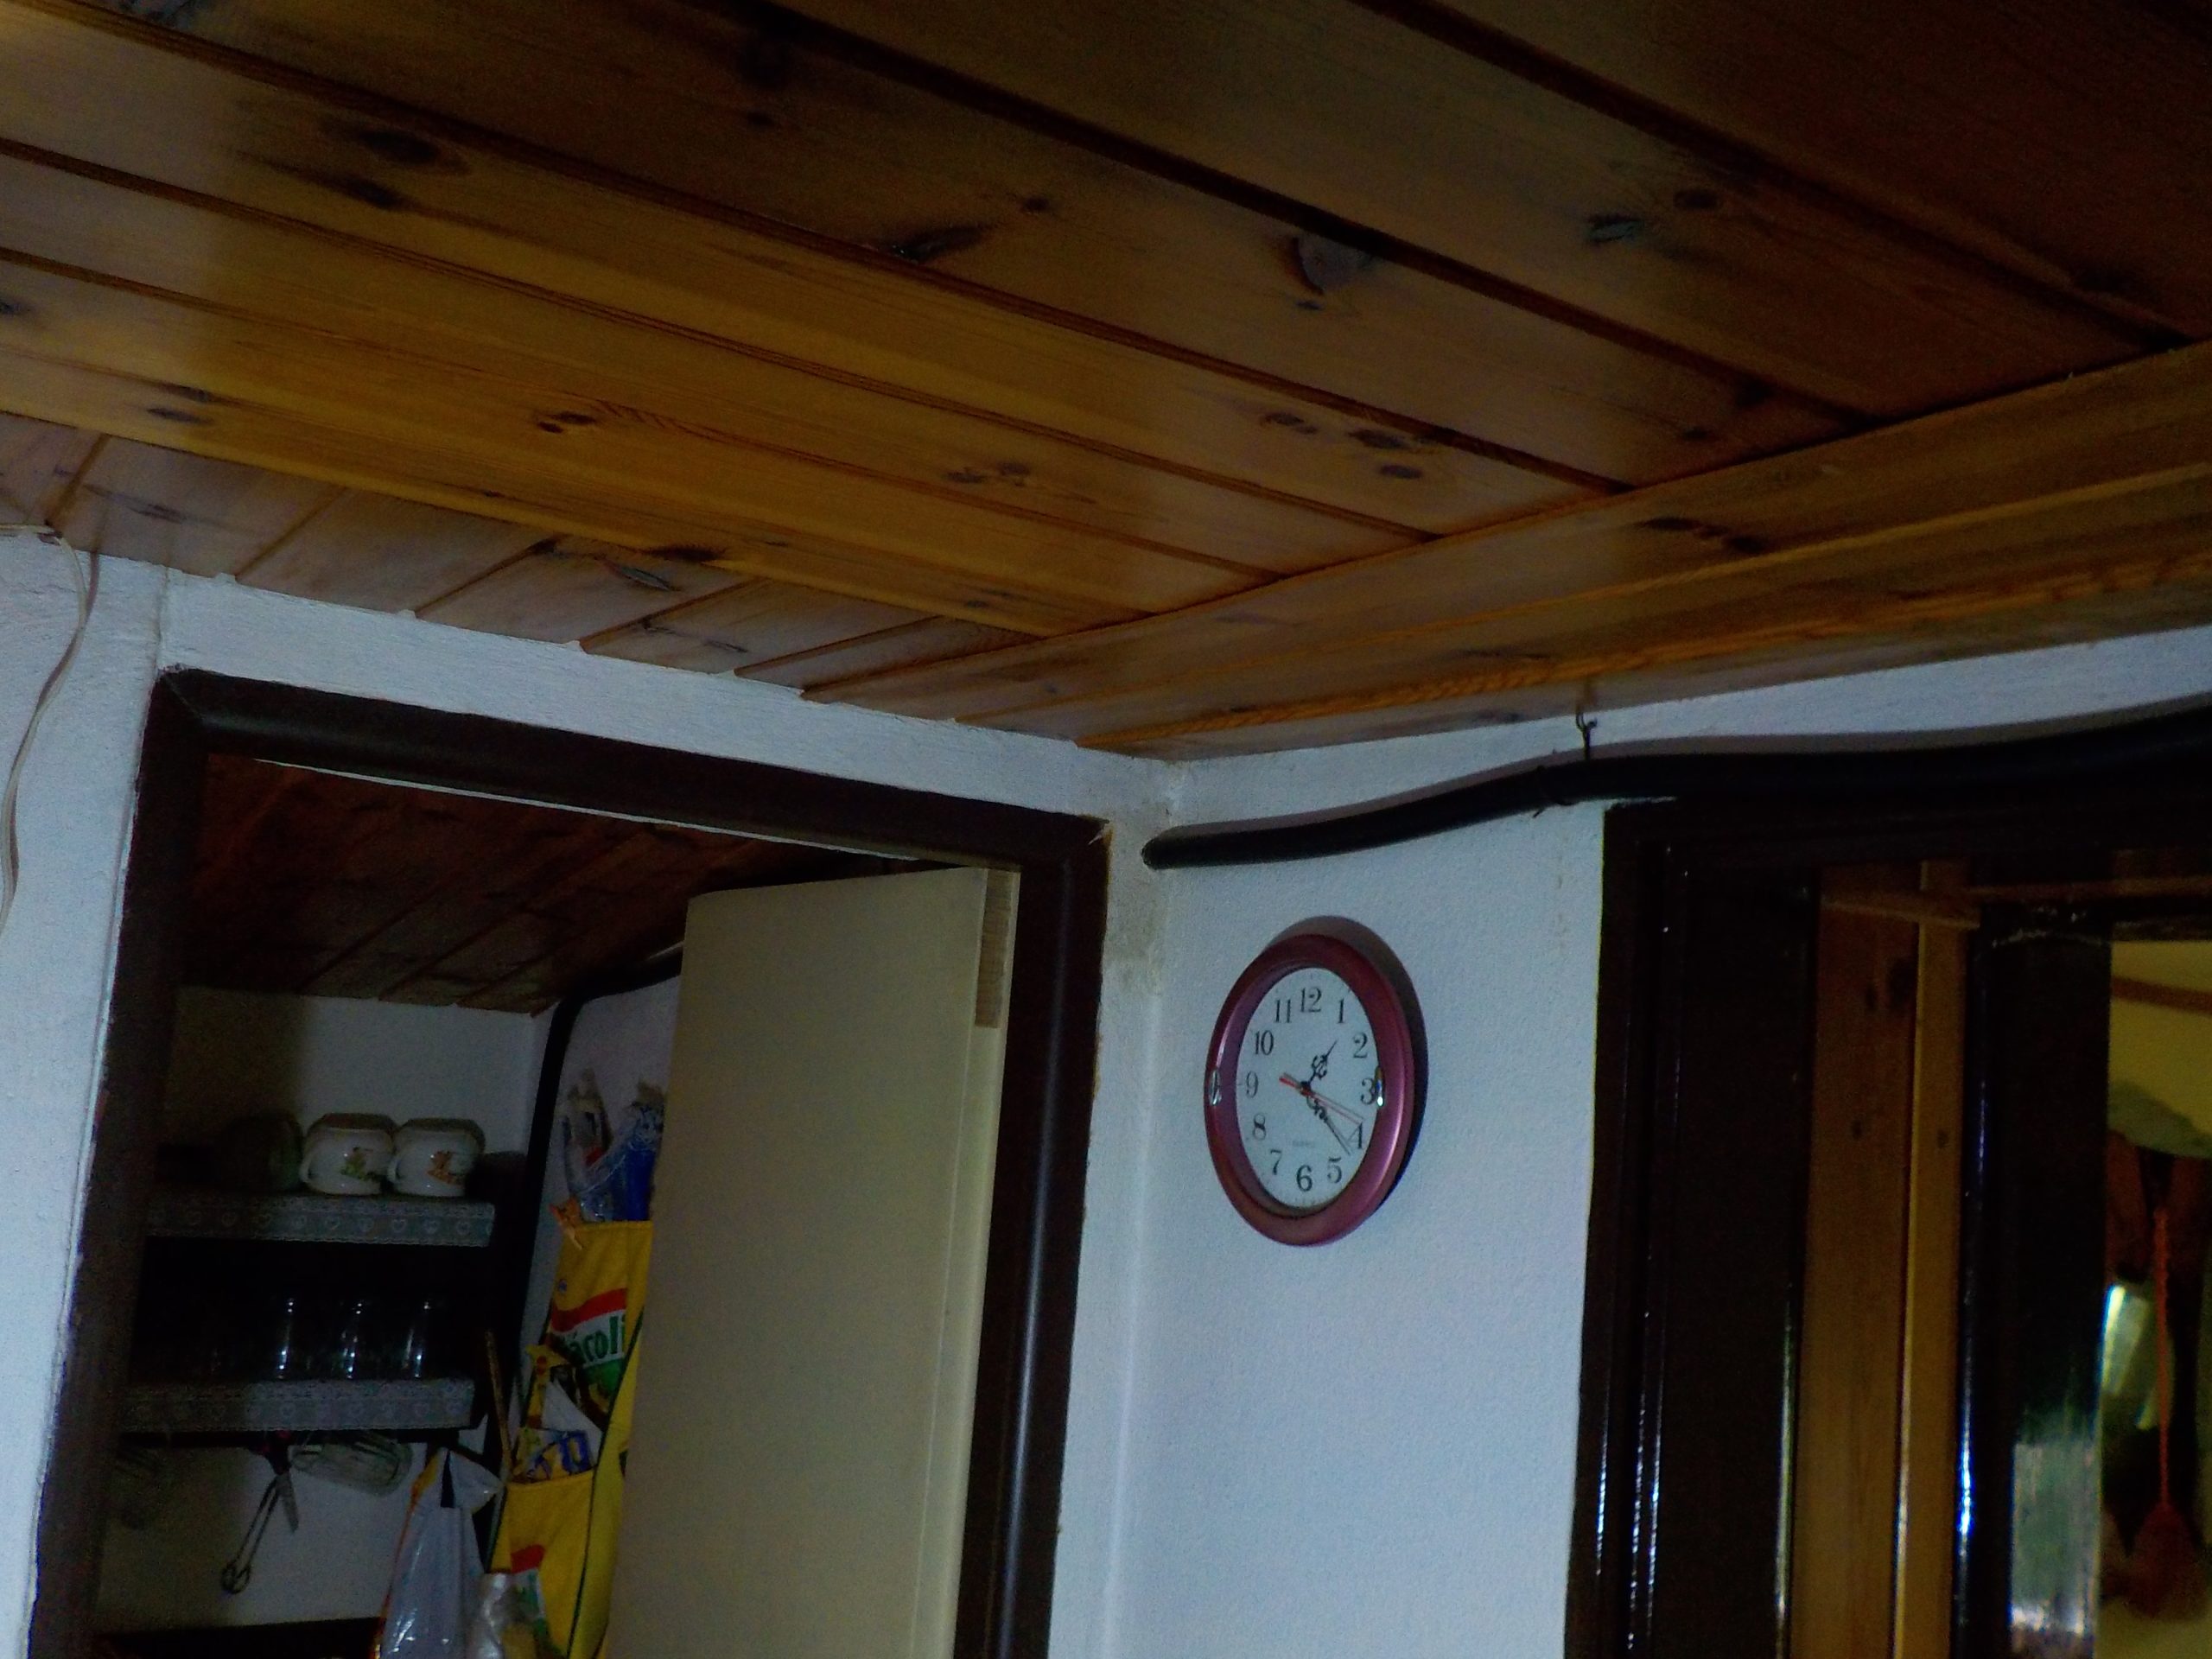
7. Heating distribution throughout the building:
8. An old heating element is enough:
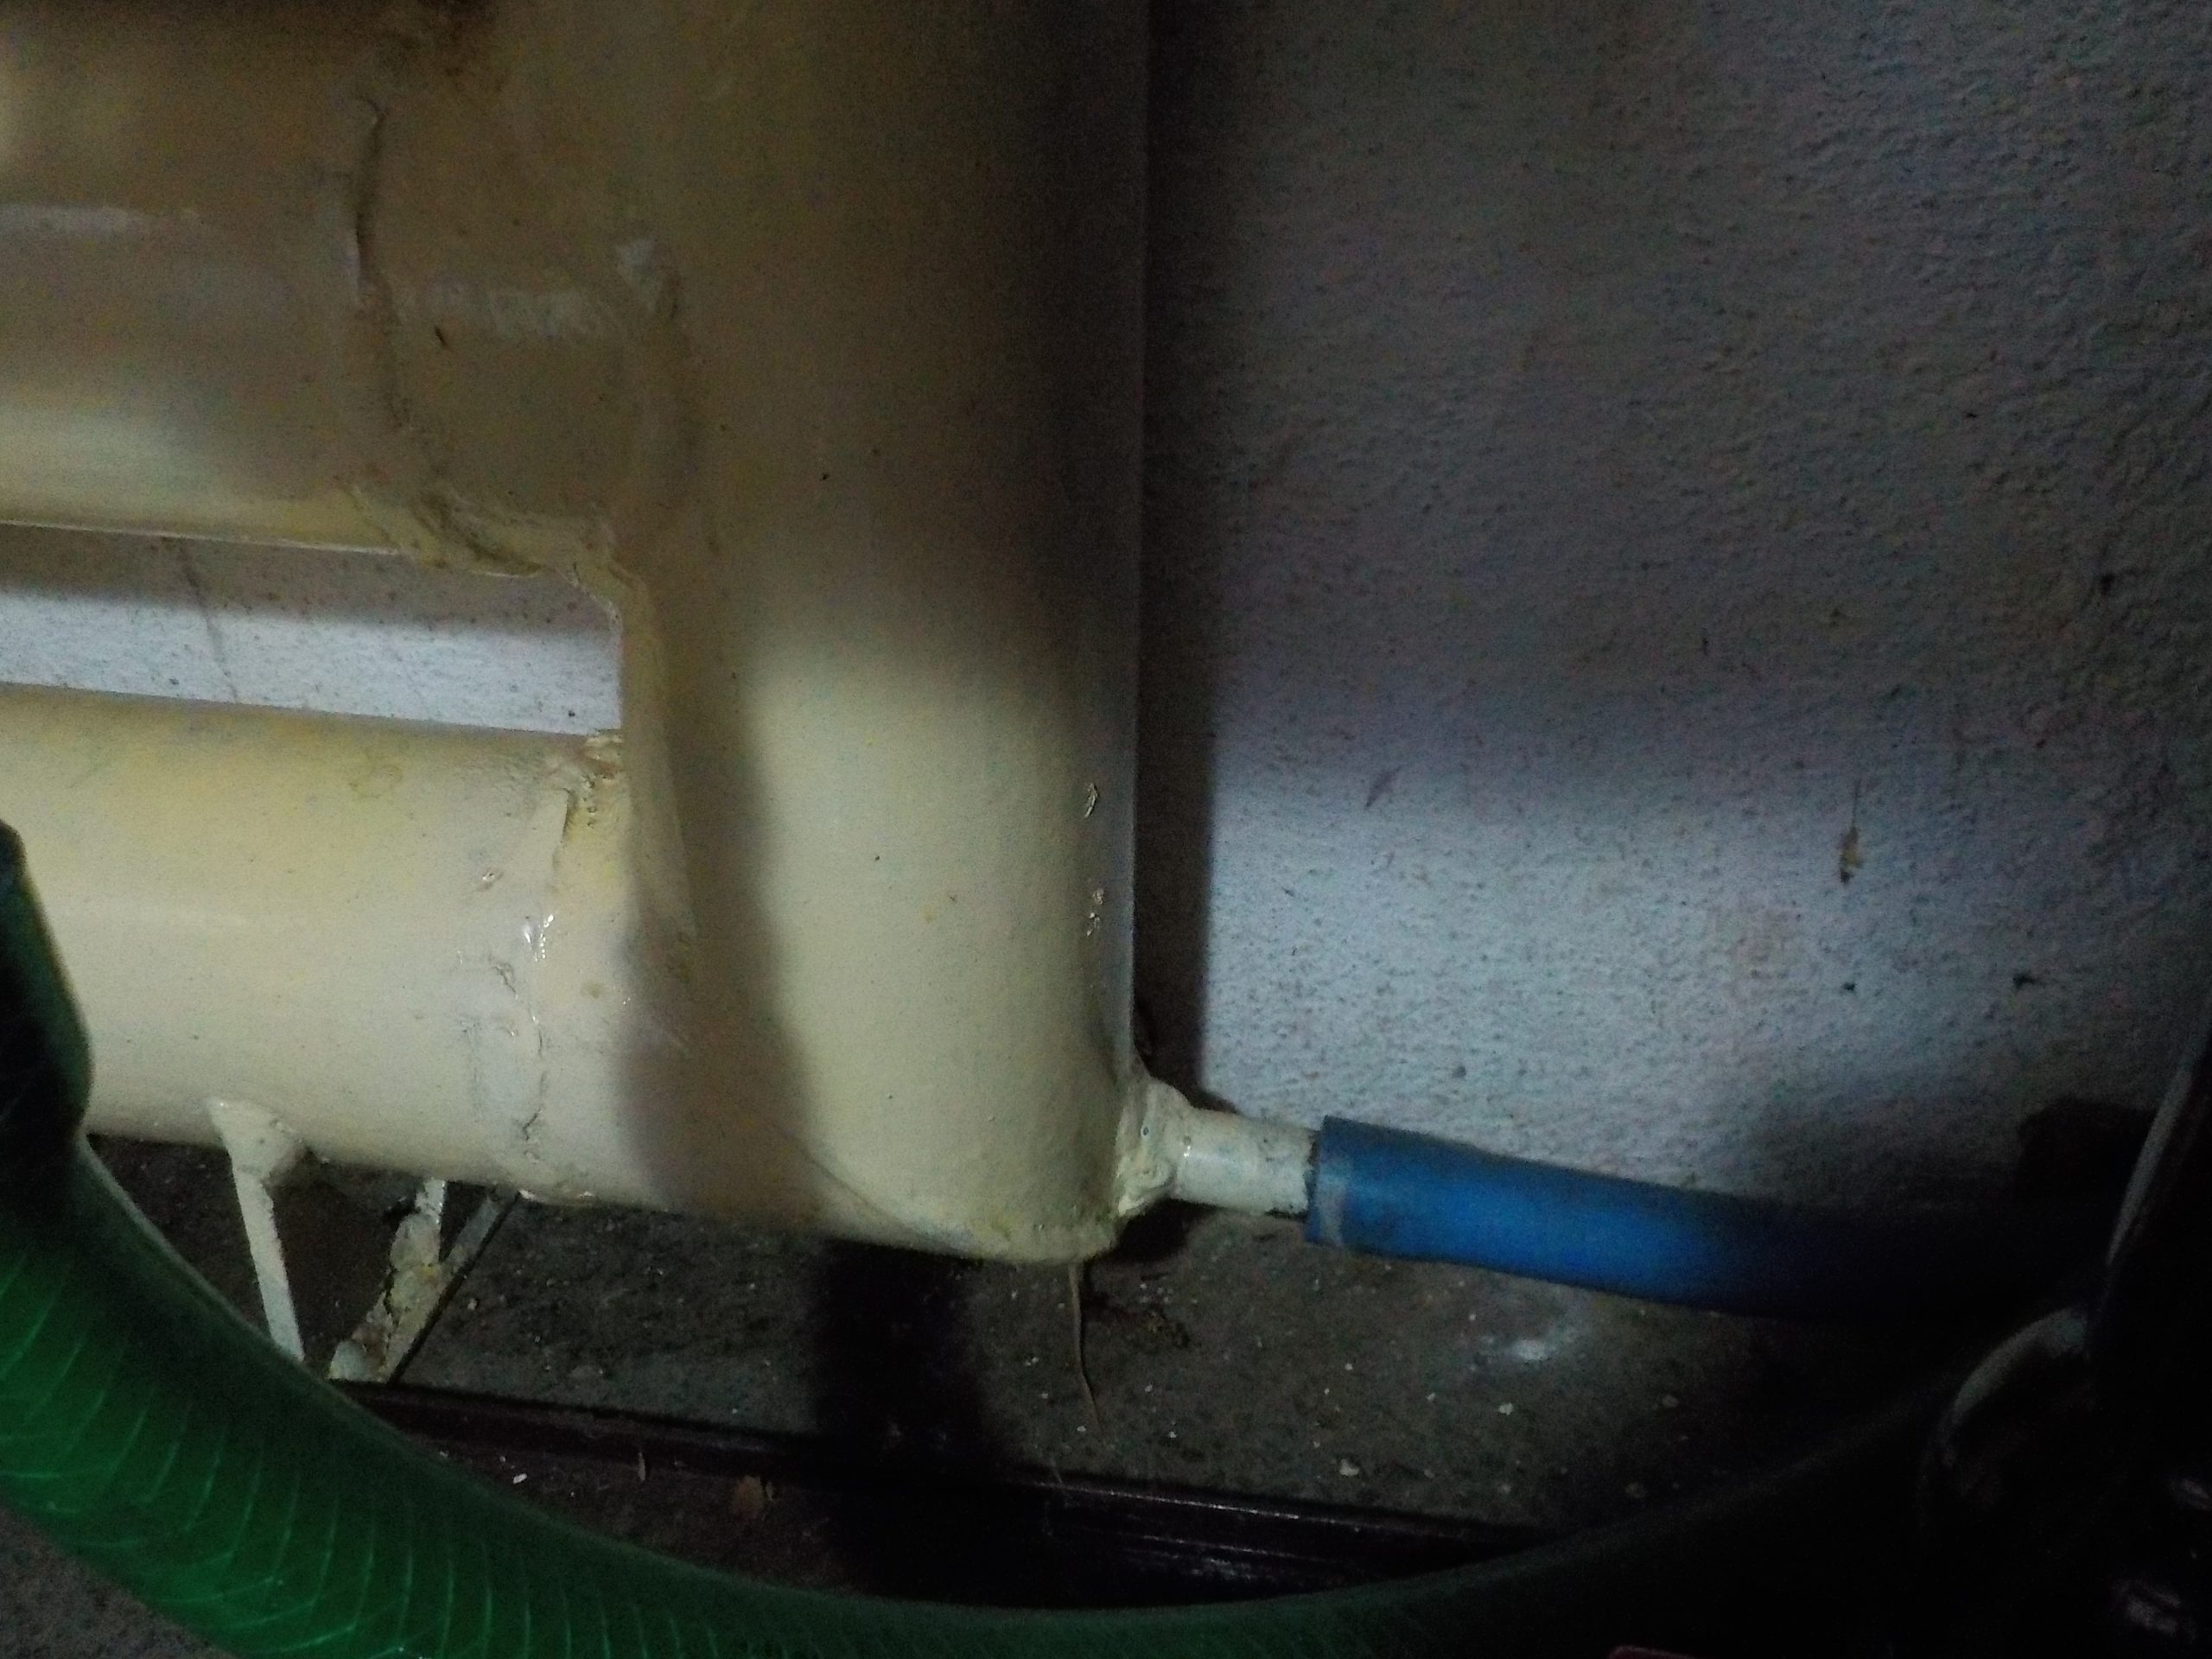
9. Demonstration of transition of rubber hoses:
![]()
10: Securing the hole, the steam does not escape, but no explosion can occur: